Showing posts with label slime. Show all posts

Thursday, November 2, 2017

Inspired by Slime (Cupcakes)

Yesterday's class was supposed to be "Slime Cupcakes", but there were no signups, and nobody walked in. Part of the issue might have been timing: this was a Hallowe'en craft for which everyone's Hallowe'en parties were already done, on a night where — if our customers' behavior were an indication of the norm — everyone was too frantic making last minute costumes, or trying to find last minute costume details. We did have one woman looking for Hallowe'en cupcake picks, but she (like everyone else) was not interested in spending the time to actually decorate cupcakes.

To be sure, the "slime" was designed to look more like either Ghostbusters ectoplasm or snot — it was hard to say which — but the concept can be "degrossified" and transformed to create other designs and plan for other holidays.

Photo from Michaels Slime Cupcake class sign-up page

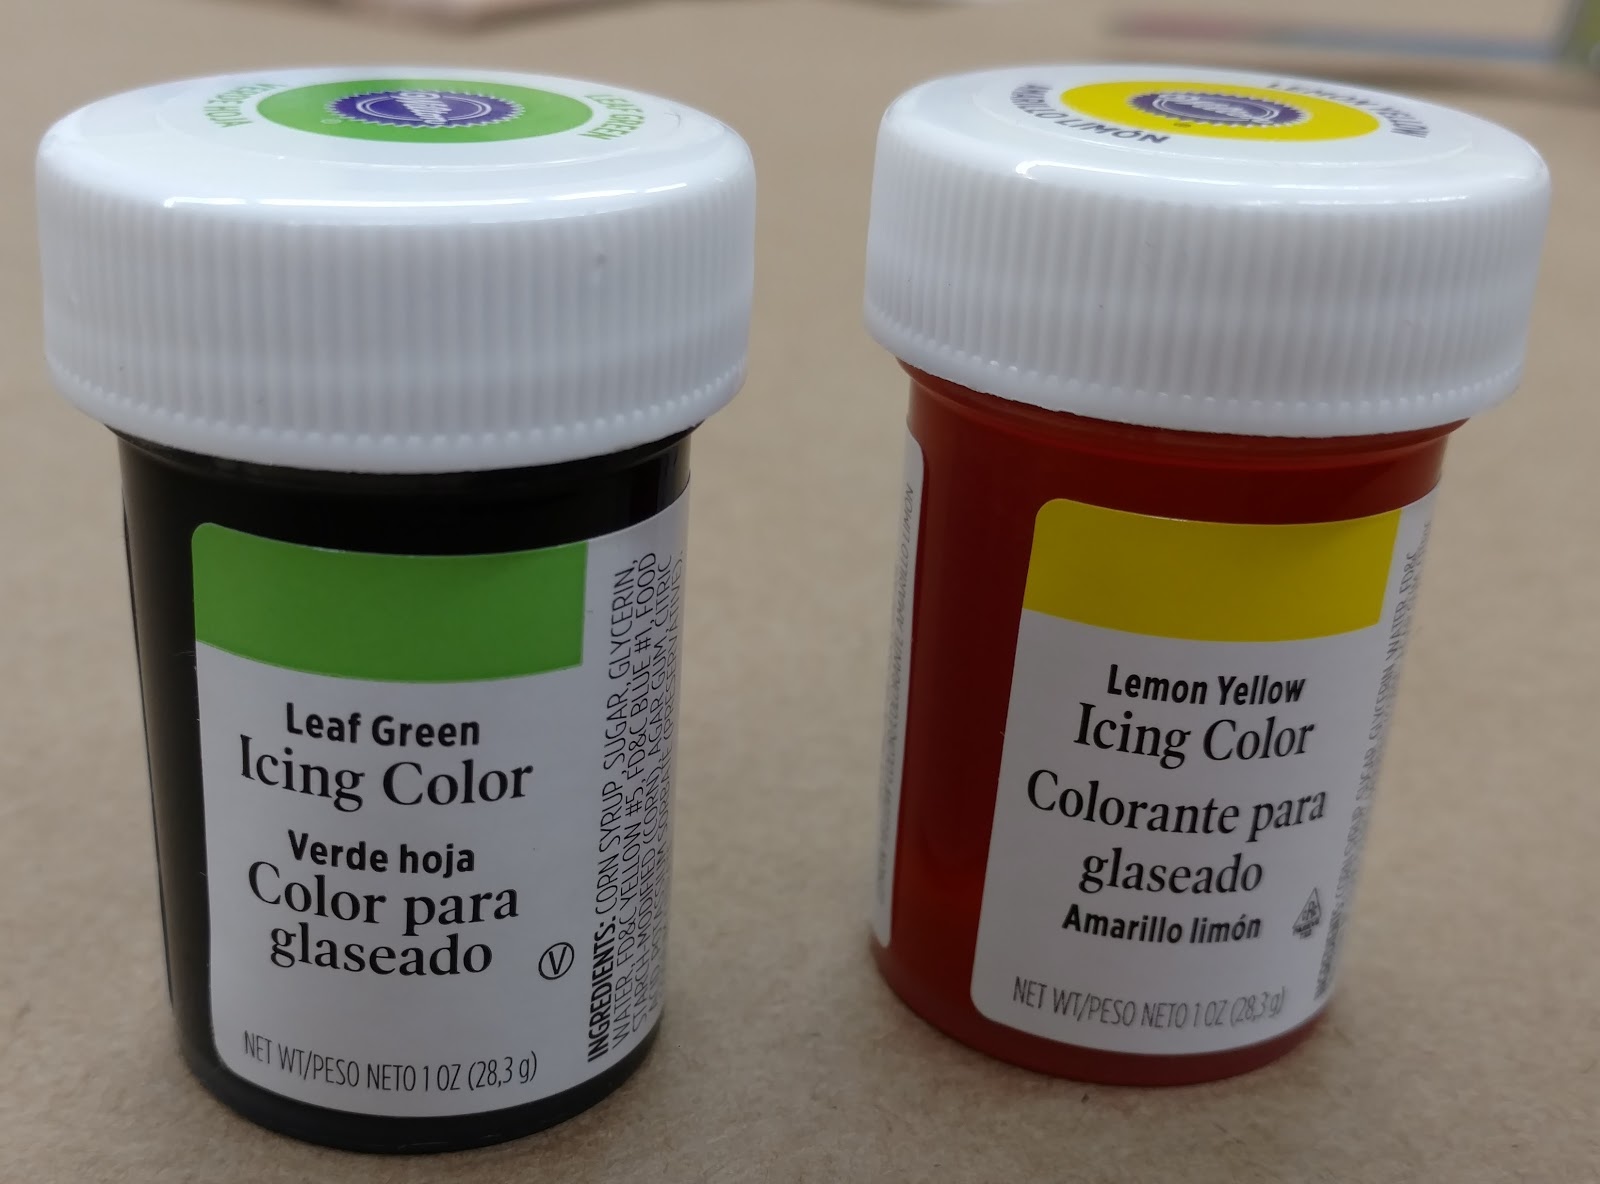
The method used for creating this effect is simple: use Wilton Leaf Green and Lemon Yellow icing colors to tint Wilton White Decorator Icing, fill a bag and use a 1A (large base, plain circle opening) tube to create a cupcake swirl, and drizzle light green Wilton Sparkle Gel to create the oozing, dripping, slime.
Of course, we were out of the light green Sparkle Gel, but since we were on the green theme I pulled the Leaf Green Sparkle Gel, which looks more like a Christmas green.

Riff 1: Substituting for the Sparkle Gel

First Option:

If we had had any Piping Gel in stock, I would have of course mixed some with the same yellow-and-green color mixture that we were to have used in the icing, added some Leaf Green Pearl Dust, and filled a second bag with the #3 tip we were supposed to use to core the cupcake (to fill with more Sparkle Gel), and used that to create the ooze.

Second Option:

We did have some Wilton Glucose, which is just thickened corn syrup. If you add color and Pearl Dust, you will get something that's a bit thinner and runnier than Sparkle Gel, but which will ooze through a #4 or #5 round tip just fine. (Tip: stir the glucose slowly: the faster and harder you work it, the more resistant it gets — but it will loosen right back up when you leave it alone.) The samples below I made at home with a butter-based American buttercream icing (I don't believe in hydrogenated oils when I can avoid them!).

Sparkle Gel (left) vs. Colored Glucose (right)

Third Option:

The snotty-looking mess to the right started out as cornstarch and water, sweetened with glucose. It congealed too rapidly, creating whitish lumps and bumps. These were eventually made less opaque with the addition of water, glucose, and sugar — and then colored with food coloring. Next time, I'd start with simple syrup and add colored cornstarch water in as the syrup reached a boil. Or, I'd start with a colored custard base.

Colored Glucose with Corn Starch Mixture piped on top

Fourth Option:


Jelly, preferably brought to room temperature, or possibly a seedless jam. I used a seedless raspberry jelly to simulate blood.

Riff 2: Another Hallowe'en Variant


"Cranial Folds"
Last year, our Hallowe'en Baking display included "Vampire Red" Sparkle Gel. Substitute Red Sparkle Gel on a grey-colored cupcake to create a "Zombie"/"Brains" effect, or over a dark purple or black cupcake to indicate "blood" for a vampire.
Here, I've created a series of u-turns from one side of the cupcake to the other, and back, to simulate cranial folds. A few drops of jelly to create blood, and we're done.
"Zombie" Cupcake

Riff 3: Christmas Tree With Sparkle Gel

The Christmas green color of the Leaf Green Sparkle Gel reminded me (as if our stock didn't!) that Christmas is less than two months away, and holiday baking often starts as early as Thanksgiving. I could use that dripped Sparkle Gel technique to make Christmas Tree cupcakes!

Base using tip #21
I loaded Christmas green icing into a bag with an open star tip. My first attempt used a #21; the second used stiffer icing with the ubiquitous 1M. Starting from the center of the cupcake, draw a line out to the side of the cupcake. Continue around in a star pattern to create the base of the tree.

Between the spokes of the star, pipe another, smaller star.
Continue piping stars to create the body of the tree.
Finally, pipe a pool of green icing at the center of the cupcake and draw straight up on the release to create the tree's top.
Use white or gold Sparkle Gel to create the tinsel garland. Sprinkle red nonpareils for holly berries, gold stars, or any Christmas sprinkle mix to simulate ornaments.
Tip 21 Tree With White Sparkle Gel
and Gold Sanding Sugar
Tip 1M Tree

Now, these Christmas Tree cupcakes do take up mounds of icing (you'll need to double or treble the amount you make) — and they'll need to be made of royal icing rather than buttercream if you're putting them in a Gingerbread House scene — but they'll be a fun addition to your Christmas table.

Monday, October 16, 2017

What's This "Slime" Thing All About?

If you've been anywhere around primary-school children this past year, you've heard them wax poetic about slime.

We're not talking here about the oozing texture of decomposing vegetables, but a complex colloid usually* made from copious amounts of white or clear glue (particularly Elmer's glue products) that has been partially solidified by the reaction of baking soda (a mild acid) with borax, detergent, or contact lens solution (mild bases), and given color and texture with food dyes, acrylic paints, glitter, pompoms, miniature styrofoam balls, pony beads, pieces of string, googly eyes, and pretty much anything these youngsters can get a hold of.

Slime has been a strong component of Michaels' children's craft supply sales and family events since the beginning of the summer, along with a number of slime-themed events. Parents have been purchasing gallon upon gallon of glue for slime-making; kids have been trading slime, giving it away, and even starting their own slime businesses. Some have become YouTube stars, demonstrating new or different slime recipes.

Like most adults, I didn't get the attraction of slime — so I asked some of our young customers. At its most basic, playing with slime gives kids the same sort of hand-stress release that adults get from foam-filled stress balls (and other-shaped promotional items). But it goes a bit further, and as "they" say, you really have to play with it a bit to understand the attraction. I got a chance to do this as "leader" for our October 7 "MAKEbreak: Customize Pumpkin Slime" event.

Slime is not as stiff as stress-ball foam. It can be stretched out like dough (even thinner than many doughs!), and plain slime is great for massaging the spaces between your fingers. The texturizers (those beads and pompoms and stuff) can stimulate small areas like the pads of one's fingers. Except for leaving my fingers feeling covered in glue residue, I can easily understand how kids like to keep kneading, squeezing, and stretching those balls of slime.

Slime's visual and tactile stimulation brings to mind Twiddlemuffs, a leftover-yarn charity project discussed on the LoveKnitting and LoveCrochet blogs. These muffs, made from multiple colors and textures of yarn, with buttons and notions sewn inside and out, help calm Alzheimer's and dementia patients and help them focus. (They are in some ways low-tech versions of the "fidget boxes" that were popular these past two summers.)

In addition to our earlier pumpkin slime event, we'll be having a free MAKEbreak: Customize Glow in the Dark Slime event this coming Saturday (the 21st) from 1 to 3PM, and a tuition-free (you will need to purchase supplies) Make-Your-Own Slime Cupcake event on the the evening of October 30th.


*YouTube videos have recipes for slime made from other ingredients such as liquid or colloidal soaps and sugar or salt, nail polish and vegetable oil, or Crayola Model Magic and hand lotion, but most of these require a couple days' standing plus freezer time in order to cure.