One of the downsides of large T-shirt designs such as "Hippopotamus for Christmas" and "Dreidel for Dummies" is the amount of heat-transfer vinyl (iron-on, HTV) that they use. Not counting the costs for licensing Cricut Access images, the hippo T would have cost me $30 in materials; the dreidel T, $20, had I not been working at Michaels and been able to use Associate discounts on top of sale prices. I'm not counting design time or application time, and I've saved a significant amount of vinyl on the hippo by delayering the images. This would put the retail price of a vinyl T somewhere in the $30-40 range, even for a $2-on-sale craft T-shirt. (The blanks Cricut associates use on their instruction videos run $10-15 on sale at places like Target and Old Navy, making a more "designer" look that much more expensive!)
My colleague S. would have loved a hippo T, but the materials costs alone would be out of budget for her. I found a cute Snowman T-shirt pattern on Design Space that could be made cheaply from scrap vinyl — with a few tweaks to the pattern.
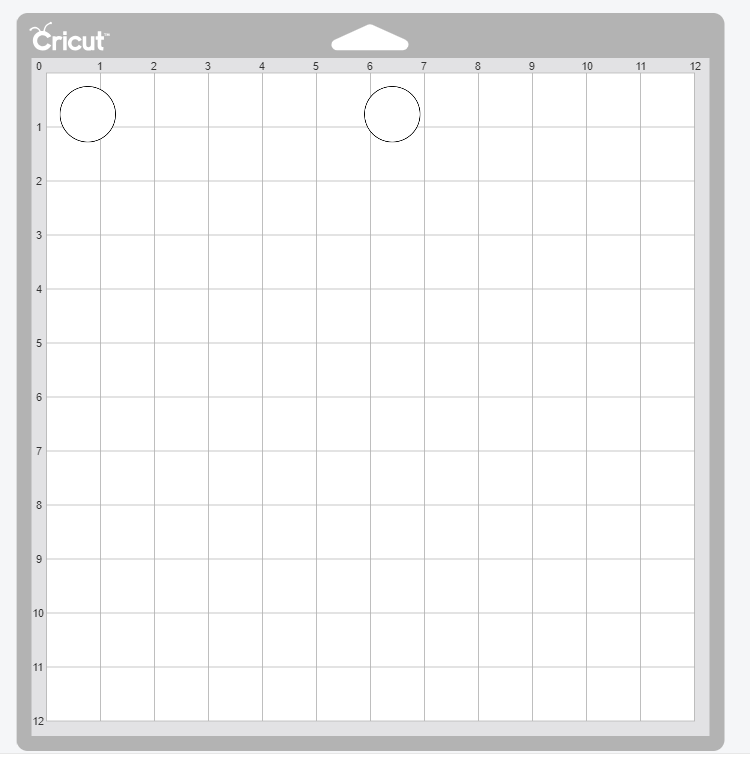
When I looked at the mats, I noticed all the little black dots for the snowman's eyes and mouth were attached, as well as the white dots for the reflections in the snowman's eyes. That ends up creating a lot of wasted vinyl. I also noticed that there was no way to register the cut so one knew exactly where to place the orange nose.
Since Design Space doesn't have a good way of setting registration marks, I decided to create a paper template.
First, I attached all of the design elements into a single cut image and resized it to an appropriate size for the T-shirt. Attaching elements turns them all the same color, but it's easy enough to turn them back later.)
I used this monochrome to cut my paper template. Instead of weeding the background, I weeded out the design elements to produce a template with openings for each of my vinyl cuts. While the weeding isn't perfect, it's sufficient for my purpose.
Next, I detached all of the design elements and returned them to their proper colors. I also delayered the inner eye, so I would only have one layer of vinyl throughout the shirt.
You'll notice these use a lot less vinyl if cut from a fresh roll. Each piece can be moved individually, so they can be positioned to use waste vinyl, either manually (in the Web app) or by using the Snap Mat feature on an iPad. I used scrap vinyl from "Dreidel for Dummies" and "Baby, It's Cold Outside" for my white and black, and the rest of a "row" of rolled vinyl for my orange.
My final cost: about $6, if I include the vinyl as rolling inches.
Needless to say, S. was surprised and delighted.
Using the content of free "trend" classes and projects at craft supply and manufacturers' web sites as a source of inspiration to take your crafts to the next level. Disclaimer: I do not speak for any supplier, manufacturer, or community to which I link in my blogs. Because I was an employee of Michaels Stores until November 2021, many product links will lead to Michaels' product page rather than the manufacturer's.
Showing posts with label registration. Show all posts
Wednesday, January 9, 2019
Monday, July 30, 2018
It Still Doesn't Register...
Registration: the alignment of multiple processing passes on the same sheet of paper, so a single multicolor or multiprocess image is produced.
Coming from the world of photography and printing, I see perfect registration as a requirement to make sure my images and cut works line up so there's no offset of one color to another, or of image to cut. It's something I expect of any color printer — and which, until now, I expected to be standard for any cutting machine. If I have to manually align a paper for multiple passes, I'll set my program to print the registration marks which allow me to perform the alignment myself.
One of the issues I've been having with getting my Cricut to do what I want it to is its inconsistency in registering to the same spot on its cuttting mat, or — more importantly — to the material on the cutting mat. This is annoying because it makes it difficult to do precision cuts on unusual shapes, and to do registered cuts on preprinted materials — such as personalized cupcake wrappers and flags for an event.
Cricut's Design Space has a "print and cut" feature which is supposed to make this sort of thing easy: print your design out onto an appropriate paper through Design Space, which adds registration marks to your graphics, and then cuts out the intricate shapes of your printed item.
There are some problems with this:
1. The maximum size of a print-and-cut graphic is about 9" x 6", which is nowhere near the size of the standard cutting mat, and a bit small for adult t-shirts.
2. The "print" part of print-and-cut is much too low a resolution to be useful
3. The "cut" part of print-and-cut either tries to cut out every single color change, causing the knife to shred the project, or only cuts the outlines of the printed portion (as if you were making a sticker), with no obvious option for anything different.
DIY'ing the sequence isn't much better. While you can print and adjust to the entire size of the sheet, the cutting will end up in different areas from one mat feed to the next. A few YouTubers have suggested that adding a bounding box at the edges of your image (or paper) will help with registration, but I've not found it a perfect match.
That said, there's one additional step that looks like it might help (though it may "ruin" a mat): I ran an old mat through the Cricut several times with the bounding box set to "write" and found that my Cricut has a specific offset for 11 x 8.5" paper and cardstock (US standard letter size paper, matted landscape). If I set my letter-sized paper to the marks I've made on the mat, I'm getting something closer to a usable registration, if not what I would consider acceptable registration.
Note that the bounding lines on the flags and some of the wrappers are visible, and how they vary from cupcake to cupcake.
On the plus side, after a lot of trial and error (and wasted cardstock), I got the Cricut to cut everything out without mangling the pre-printed images. On the minus side, I still had those outline marks. Since this was a bit of a test project, I went with the stock I managed to print out. For future events, I can "hide" the outline layer so it won't print, and my cupcake flags and wrappers should be perfect.
Coming from the world of photography and printing, I see perfect registration as a requirement to make sure my images and cut works line up so there's no offset of one color to another, or of image to cut. It's something I expect of any color printer — and which, until now, I expected to be standard for any cutting machine. If I have to manually align a paper for multiple passes, I'll set my program to print the registration marks which allow me to perform the alignment myself.
One of the issues I've been having with getting my Cricut to do what I want it to is its inconsistency in registering to the same spot on its cuttting mat, or — more importantly — to the material on the cutting mat. This is annoying because it makes it difficult to do precision cuts on unusual shapes, and to do registered cuts on preprinted materials — such as personalized cupcake wrappers and flags for an event.
![]() |
| Cupcake flag and wrapper for New Jersey Libertarian Party event |
Cricut's Design Space has a "print and cut" feature which is supposed to make this sort of thing easy: print your design out onto an appropriate paper through Design Space, which adds registration marks to your graphics, and then cuts out the intricate shapes of your printed item.
There are some problems with this:
1. The maximum size of a print-and-cut graphic is about 9" x 6", which is nowhere near the size of the standard cutting mat, and a bit small for adult t-shirts.
2. The "print" part of print-and-cut is much too low a resolution to be useful
3. The "cut" part of print-and-cut either tries to cut out every single color change, causing the knife to shred the project, or only cuts the outlines of the printed portion (as if you were making a sticker), with no obvious option for anything different.
DIY'ing the sequence isn't much better. While you can print and adjust to the entire size of the sheet, the cutting will end up in different areas from one mat feed to the next. A few YouTubers have suggested that adding a bounding box at the edges of your image (or paper) will help with registration, but I've not found it a perfect match.
![]() |
| The red rectangle is my Cricut's DIY "registration" marks for US letter-size paper |
![]() |
| Registration Errors |
On the plus side, after a lot of trial and error (and wasted cardstock), I got the Cricut to cut everything out without mangling the pre-printed images. On the minus side, I still had those outline marks. Since this was a bit of a test project, I went with the stock I managed to print out. For future events, I can "hide" the outline layer so it won't print, and my cupcake flags and wrappers should be perfect.
Subscribe to:
Posts (Atom)