Since I'm not much of an artist, I searched Cricut Access for images of hippos. To make the friendly-looking beast (Cricut Access image M2E803) Christmas-y, I added a Santa Hat (Cricut Access image M188702D) and a string of lights (Cricut Access image M8AE3A8A) to the composition. Having all the elements I needed, I had to combine them into an image that made sense.


It was about this point that I ran my first paper prototype and found that the slices that give form to the hippo's legs, toes, nostrils, ears, and mouth are just single cuts which would disappear in an iron-on. At that point I hid everything but the hippopotamus, screen-captured my Design Space screen, brought it up in Paint, thickened the lines in question, and saved it out as an image to import back into Design Space. I used the original image and the Slice function to separate the better-defined hippo into head and body sections.
The other thing I realized is that half the lights are digging into the hippo's neck. I used squares, the Slice function and the Weld function to turn the light sockets around so
they all faced out, and rotated the lights as necessary.

At this point, the folk at Cricut would have you think the design was ready to go...
Not so fast!
With all of the layers involved, the finished T-shirt would be very thick and inflexible. I needed to turn off everything I didn't need in the finished shirt, and once I cut everything, trim things back to minimize the amount of layering needed. (That meant cutting the head off the black version of the entire hippo, because it was only duplicating the black head that would lay over the string of lights.) I also detached all of the lights so they would use a lot less vinyl; I could position them by hand.
After weeding, I placed everything in layers in some semblance of registration so I knew which layers had to go on the shirt in what order. I printed out a screenshot of my Design Space design so I knew how it all had to go together. Then I took it all to work so I could use our classroom's Easy Press to put everything together.
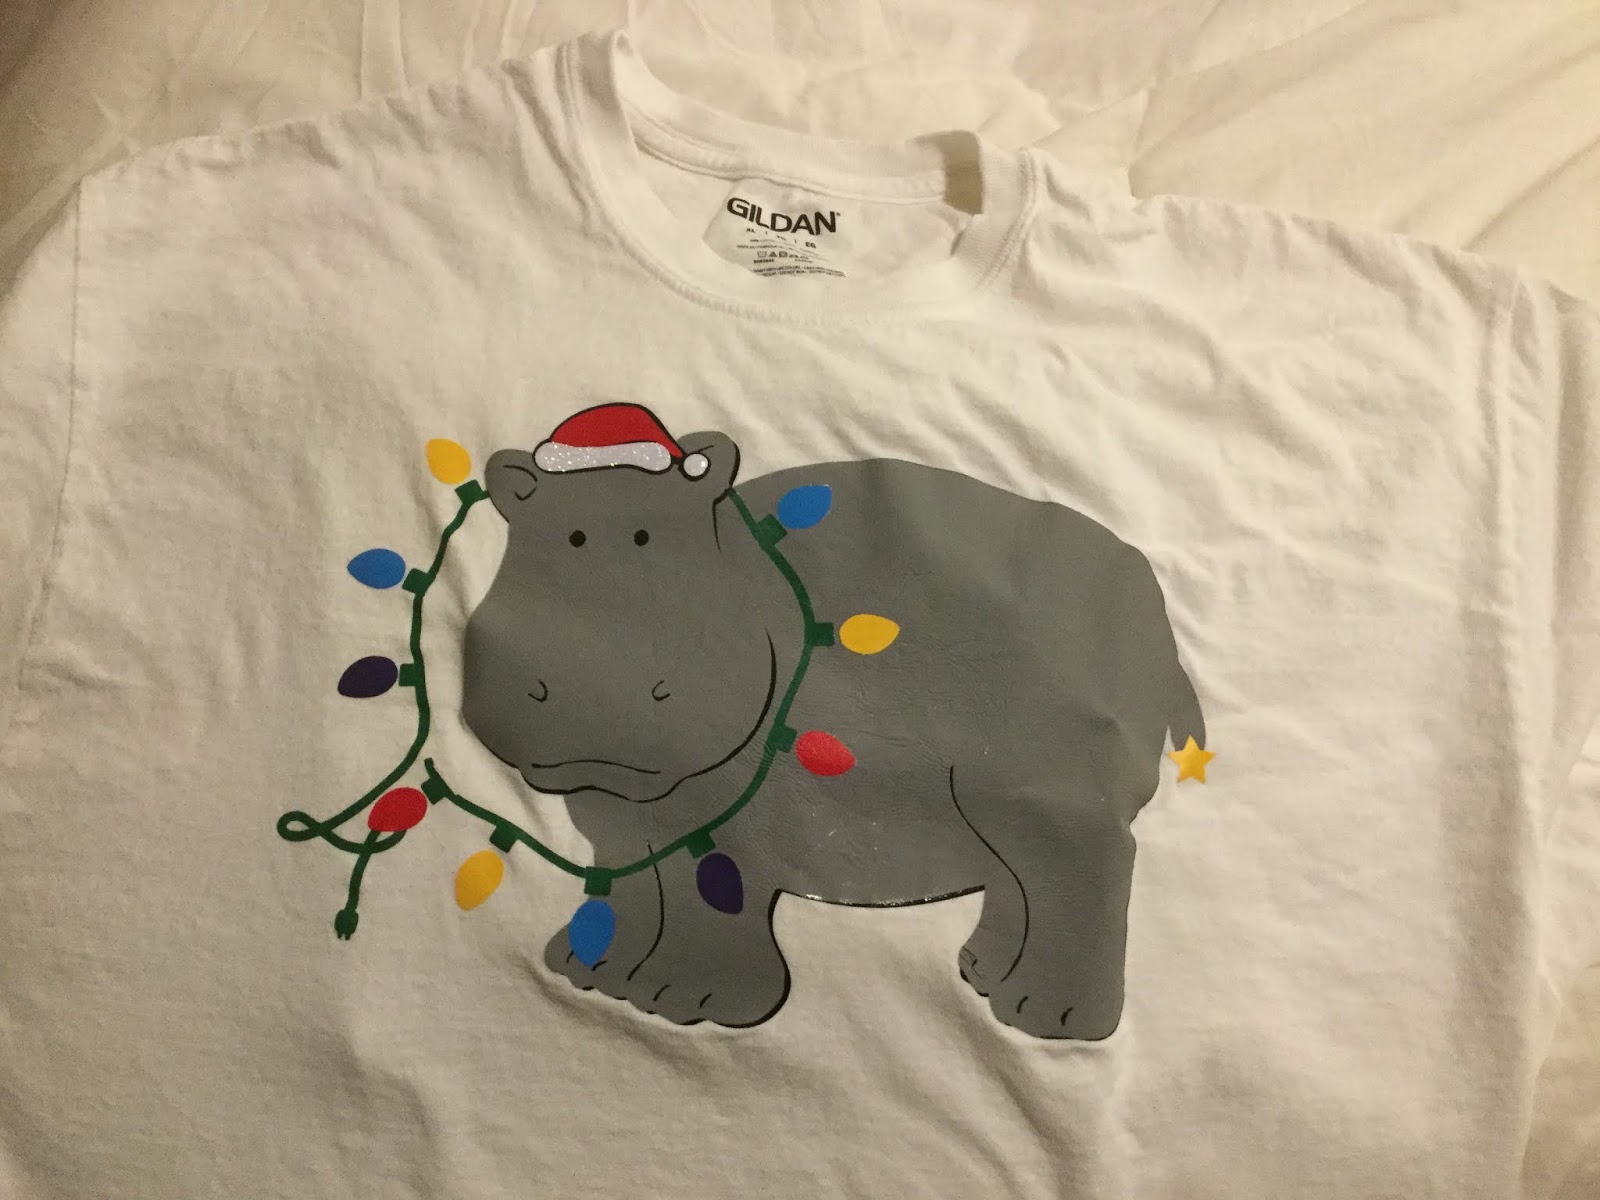
According to my sister, the shirt was a hit!
No comments:
Post a Comment